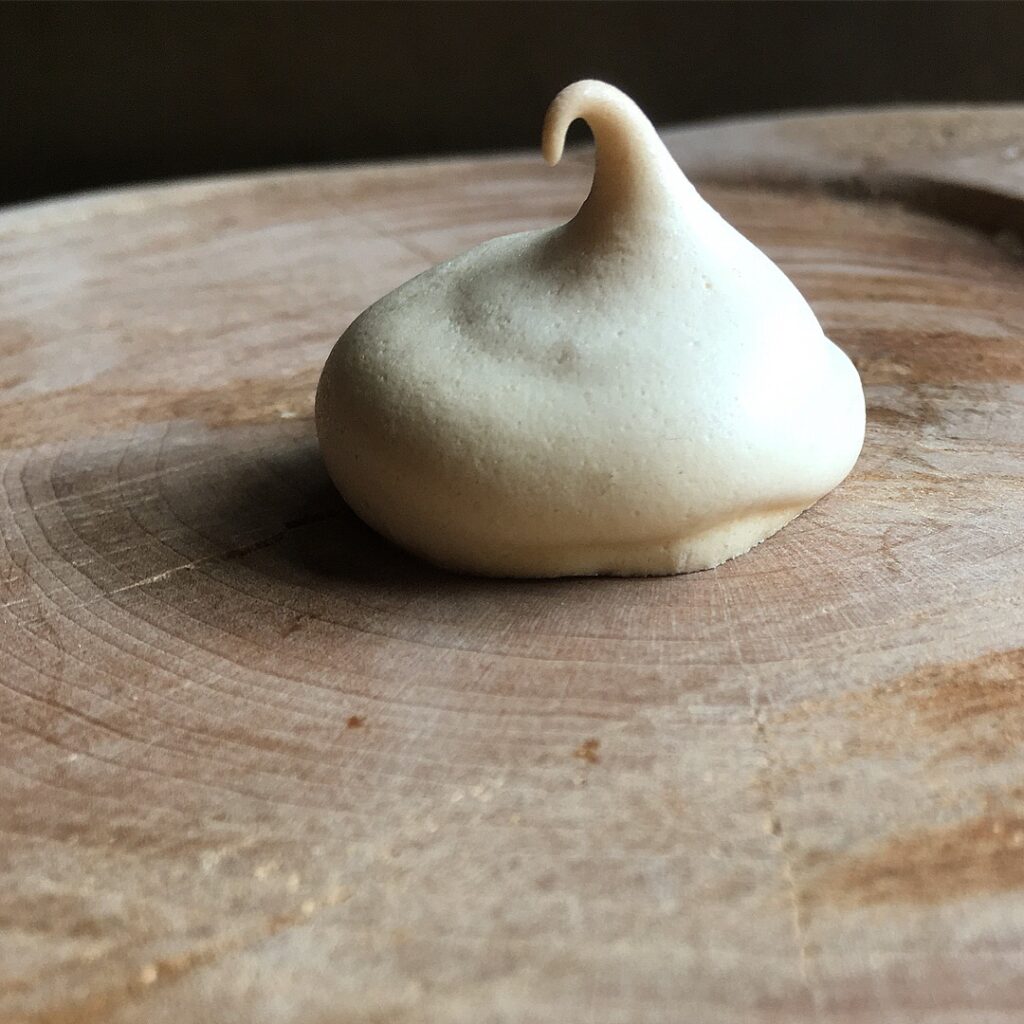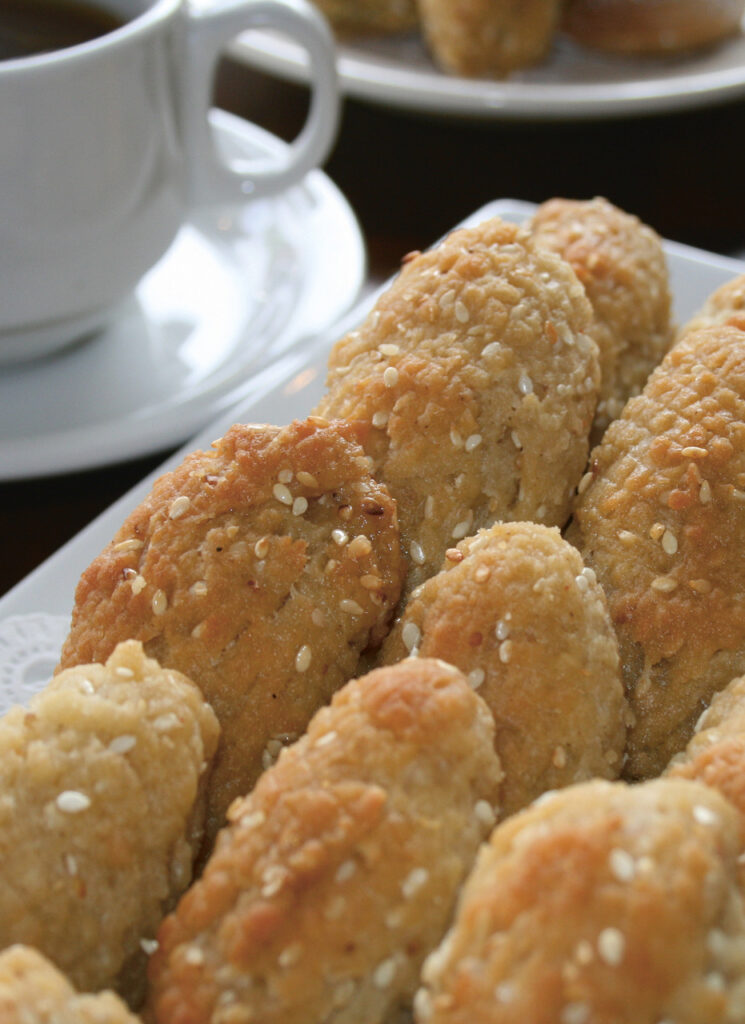

Macaroon Kashab, Glazed Sesame Seed Macaroons
FROM THE RALPH NADER AND FAMILY COOKBOOK: CLASSIC RECIPES FROM LEBANON AND BEYOND by Ralph Nader, copyright 2020 by Ralph Nader, used with permission of Akashic Books (akashicbooks.com).
Ingredients
INGREDIENTS FOR MACAROONS
- 1 or 2 .6-ounce cakes of yeast 2 for quicker results
- 1 cup lukewarm milk
- 10 cups unbleached white flour
- 2 cups sesame seeds optional: slightly toast in oven
- 2 1/2 cups olive oil
- 5 eggs whisked
- 4 tablespoons anise seed
- 1 tablespoon mahlab
INGREDIENTS FOR SYRUP
- 5 cups white sugar
- 1 1/2 cups cold water
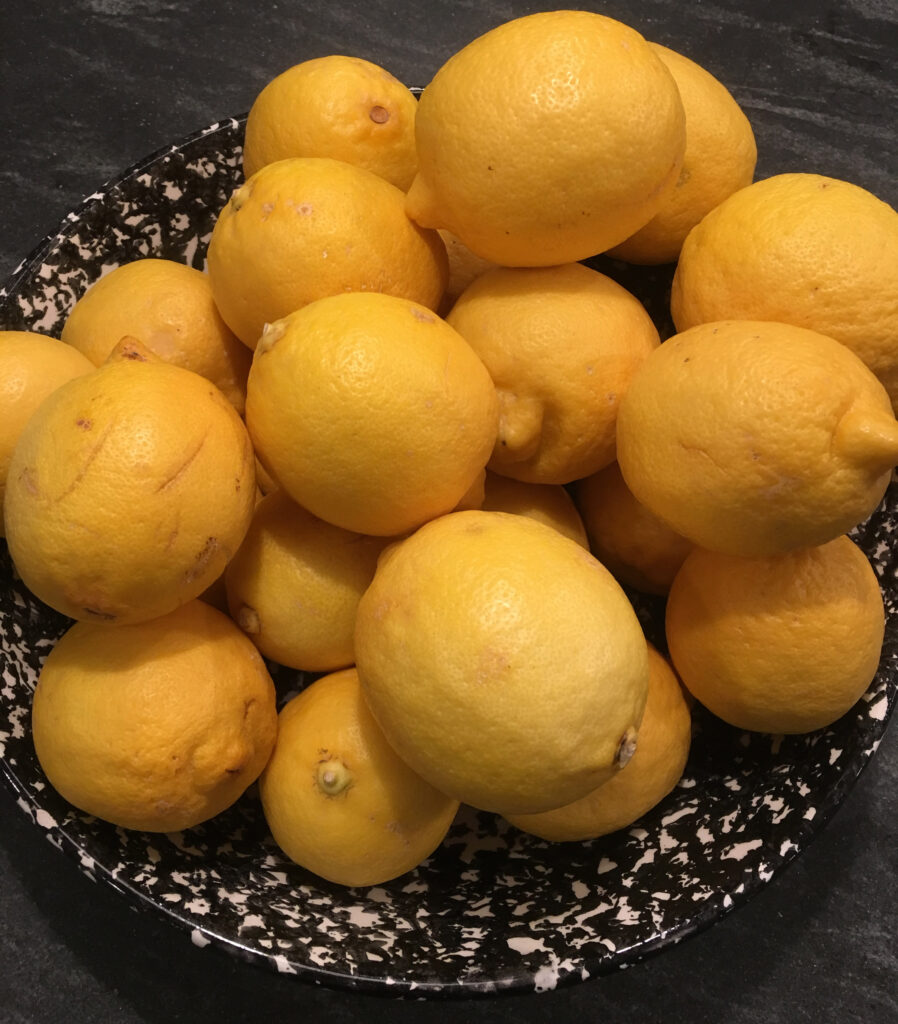
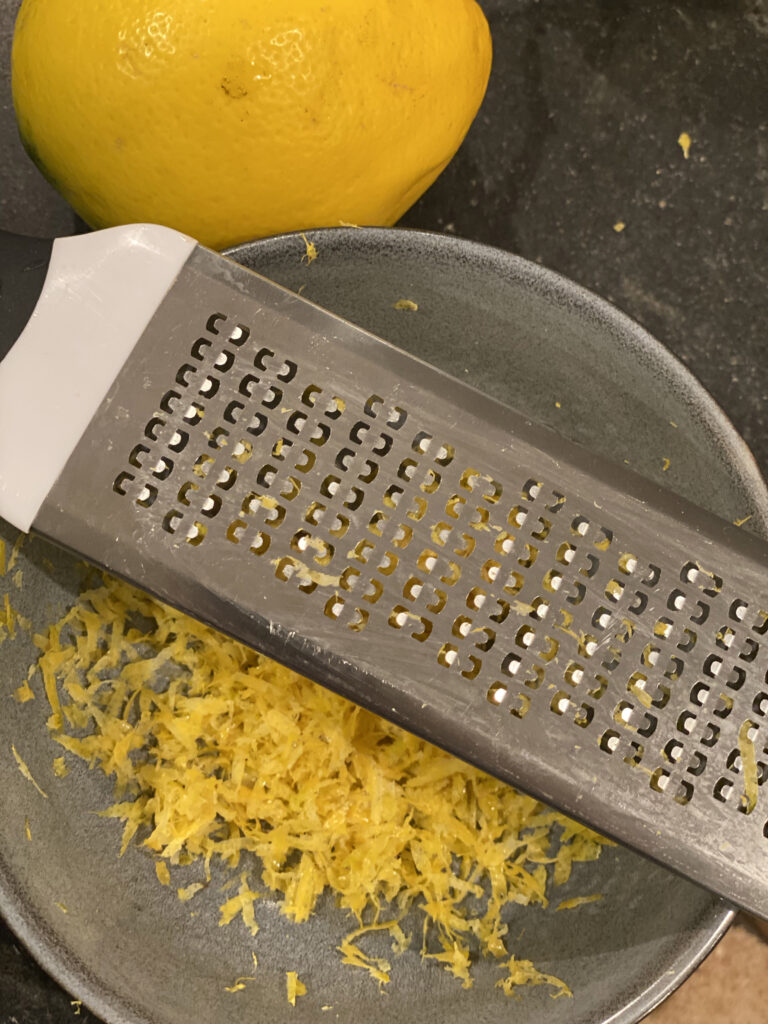
- juice of 2 lemons
- 1 1/2 tablespoons orange blossom
- water
Instructions
PREPARE THE MACAROONS
- Dissolve yeast cakes in milk.
- In a large bowl, mix flour and sesame seeds. Thoroughly combine anise seed
- and mahlab in a blender together and add to the flour mixture.
- Add olive oil and whisked eggs to flour mixture.
- Knead all the ingredients well (but not hard) for about 15 minutes until the bowl is clean on the sides. The dough should be a little loose.
- Cover and let the dough rise for 1 hour.
- Preheat the oven to 400ºF.
- After the dough has risen, form 2 handfuls into a big, long, rounded shape on the worktable, about 2 feet long. Cut the dough into 1-inch pieces.
- To form a macaroon, gently press each 1-inch piece against the grain on a flat cheese grater to create a pattern. Carefully roll the dough off the grater in one motion with the back of your fingers, forming a macaroon about the shape of a forefinger. Place onto a cookie sheet with the overlap facing down.
- Bake for about 25 minutes. The macaroons are finished when slightly brown.
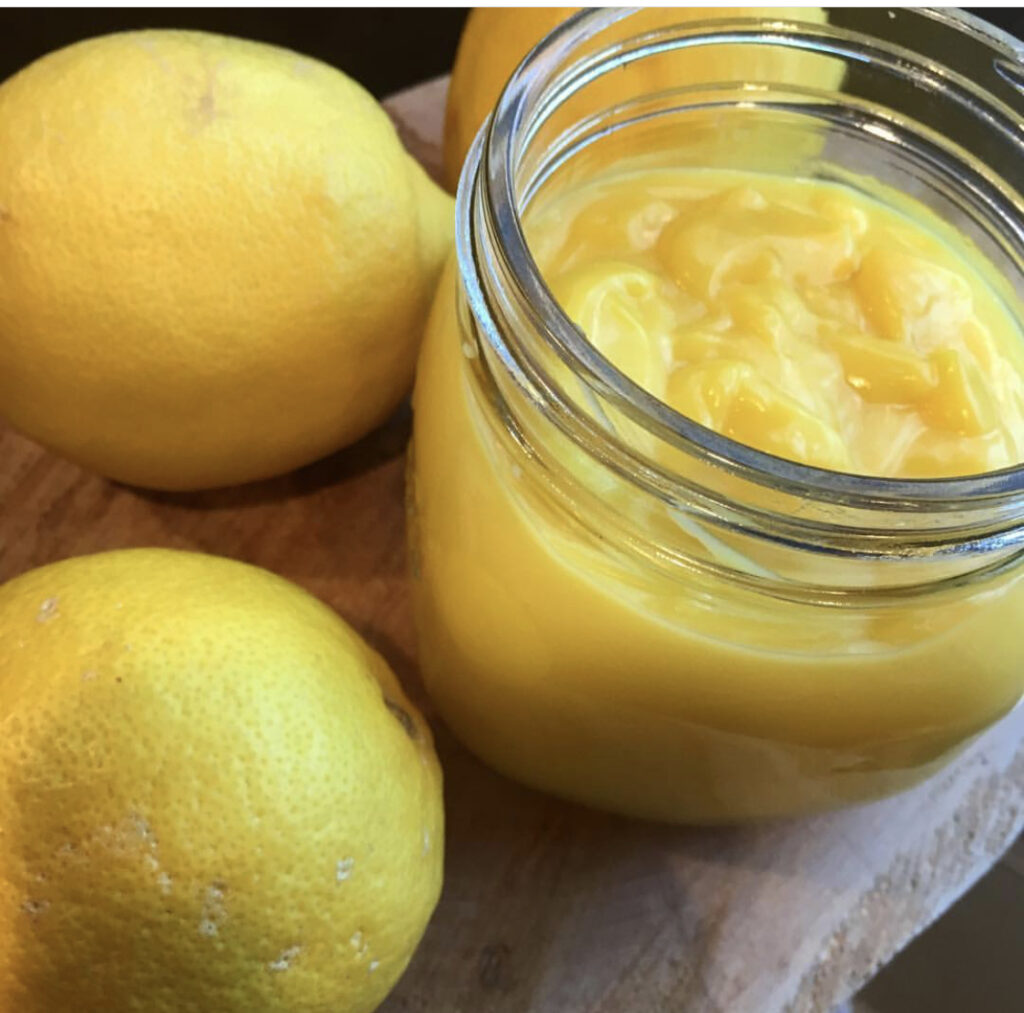
PREPARE SYRUP FOR GLAZE
- While macaroons are baking, dissolve sugar and water. Add lemon juice. Bring to a boil, stirring constantly, and boil for 3–4 minutes. Add orange blossom water.
- With a slotted spoon, dip cooked macaroons in hot syrup to glaze as soon as they are removed from the oven. Remove from glaze and place in a colander sitting in a larger bowl to permit the macaroons to drain slightly before being placed on a platter.
- If macaroons are being stored for future eating, use wax paper between layers to prevent them from sticking to each other.